
Ummm, teacher, what in the heck is white balance?
|
Normally our eyes compensate for lighting conditions with different color temperatures. A digital camera needs to find a reference point which represents white. It will then calculate all the other colors based on this white point. For instance, if a halogen light illuminates a white wall, the wall will have a yellow cast, while in fact it should be white. So if the camera knows the wall is supposed to be white, it will then compensate all the other colors in the scene accordingly. |
|
Most digital cameras feature automatic white balance whereby the camera looks at the overall color of the image and calculates the best-fit white balance. However these systems are often fooled especially if the scene is dominated by one color, say green, or if there is no natural white present. Most digital cameras also allow you to choose a white balance manually, typically sunlight, cloudy, fluorescent, incandescent etc. Prosumer and SLR digital cameras allow you to define your own white balance reference. Before making the actual shot, you can focus at an area in the scene which should be white or neutral gray, or at a white or gray target card. The camera will then use this reference when making the actual shot. (Source). |
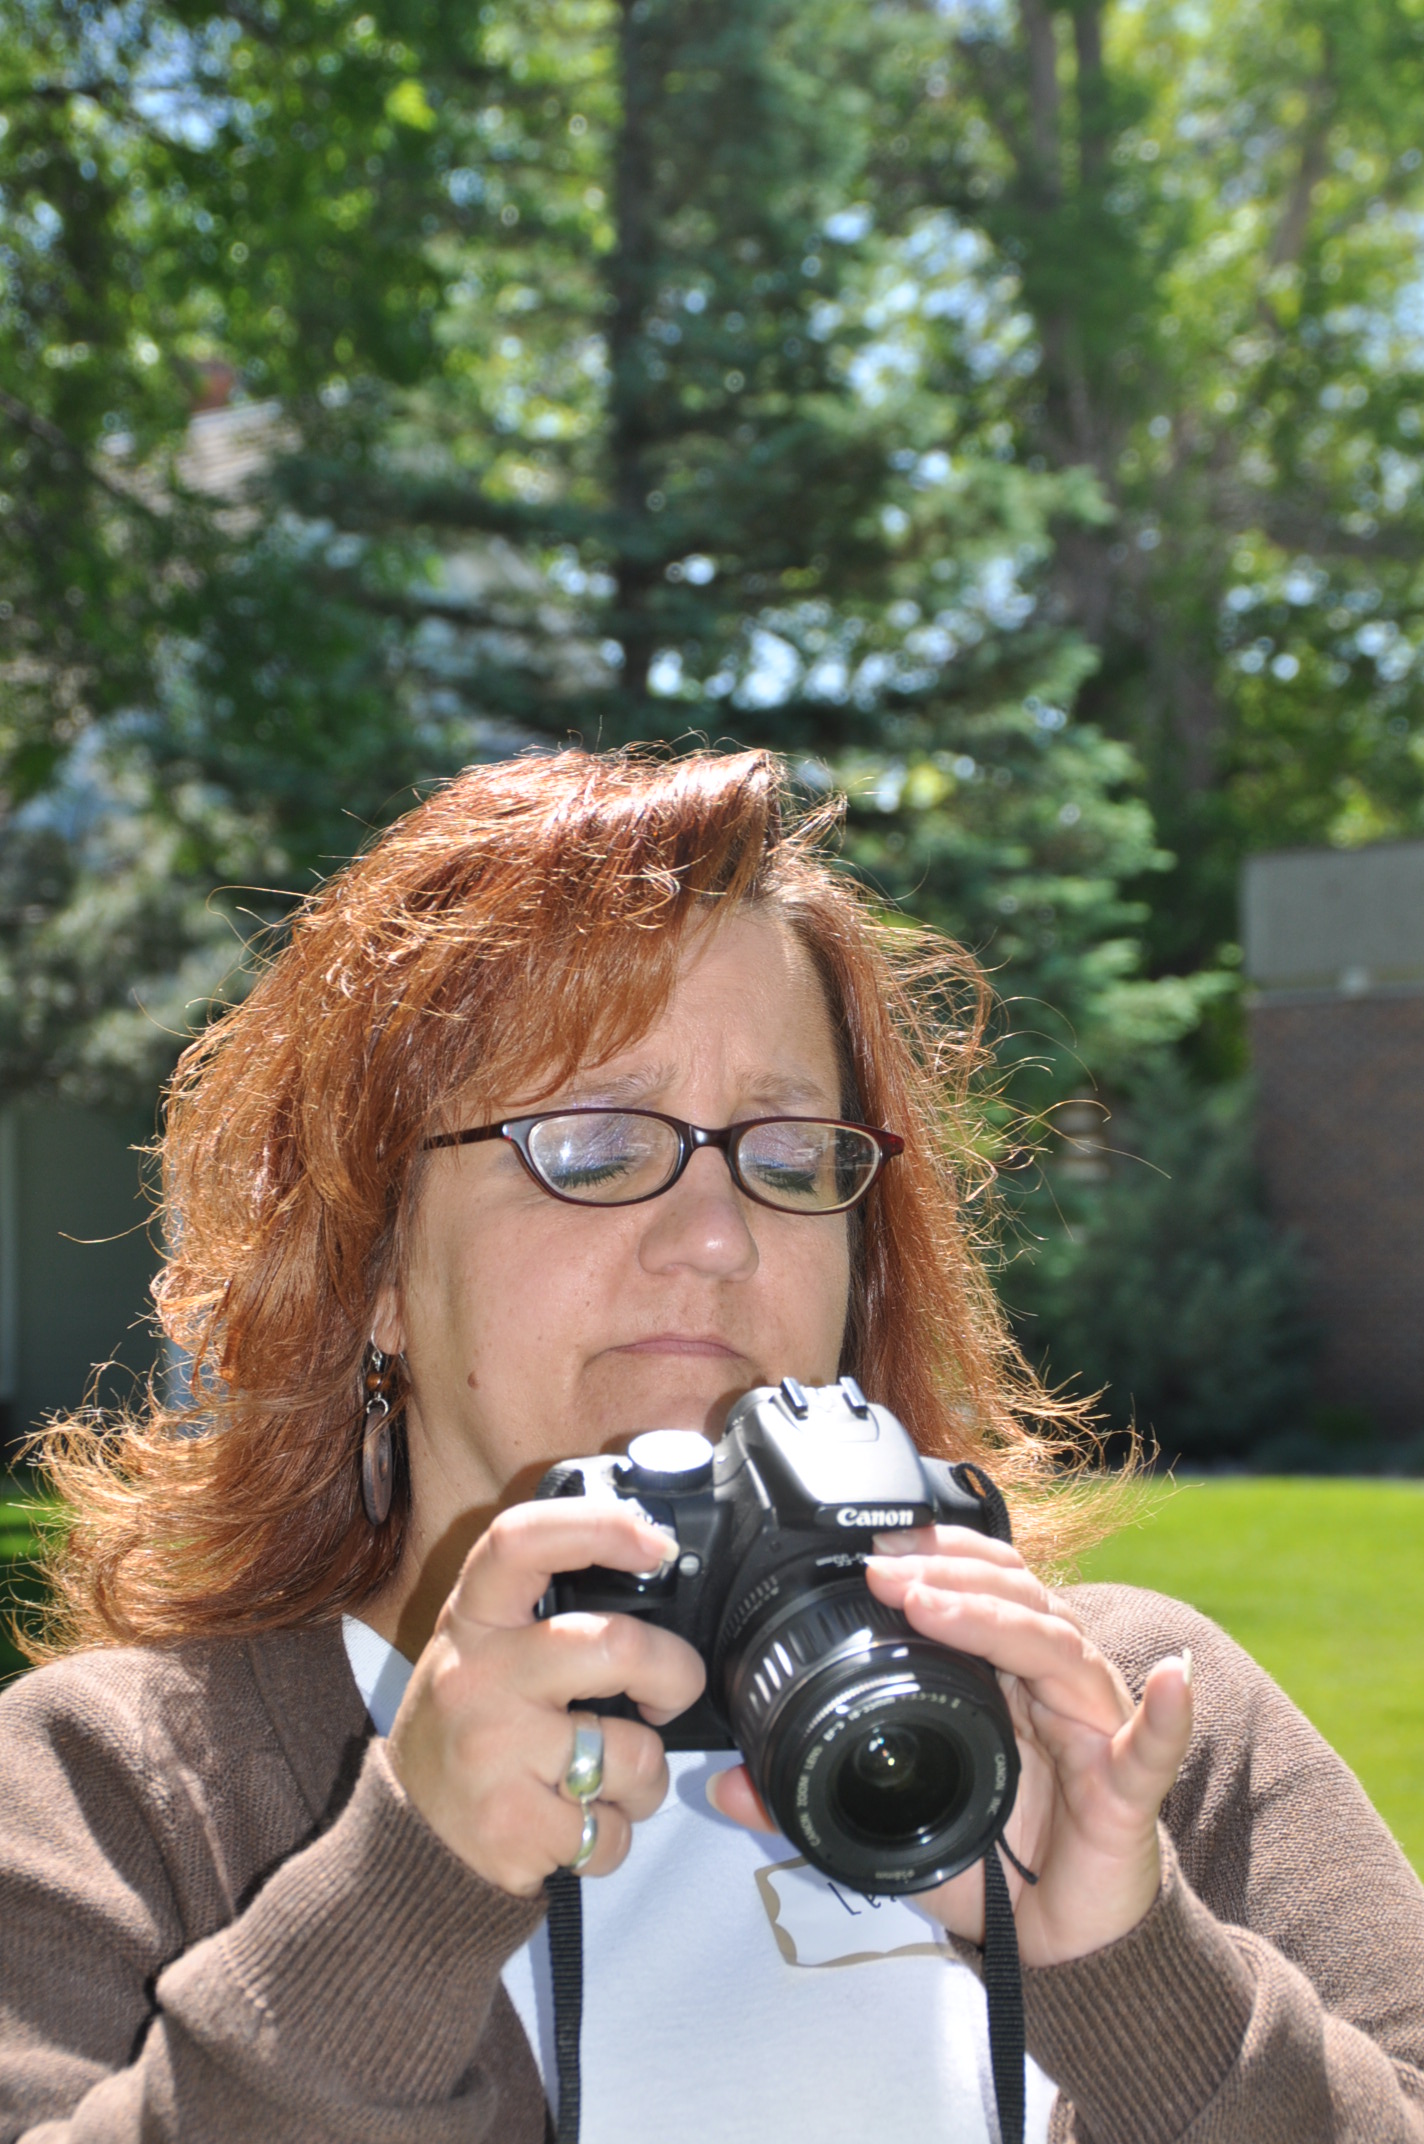
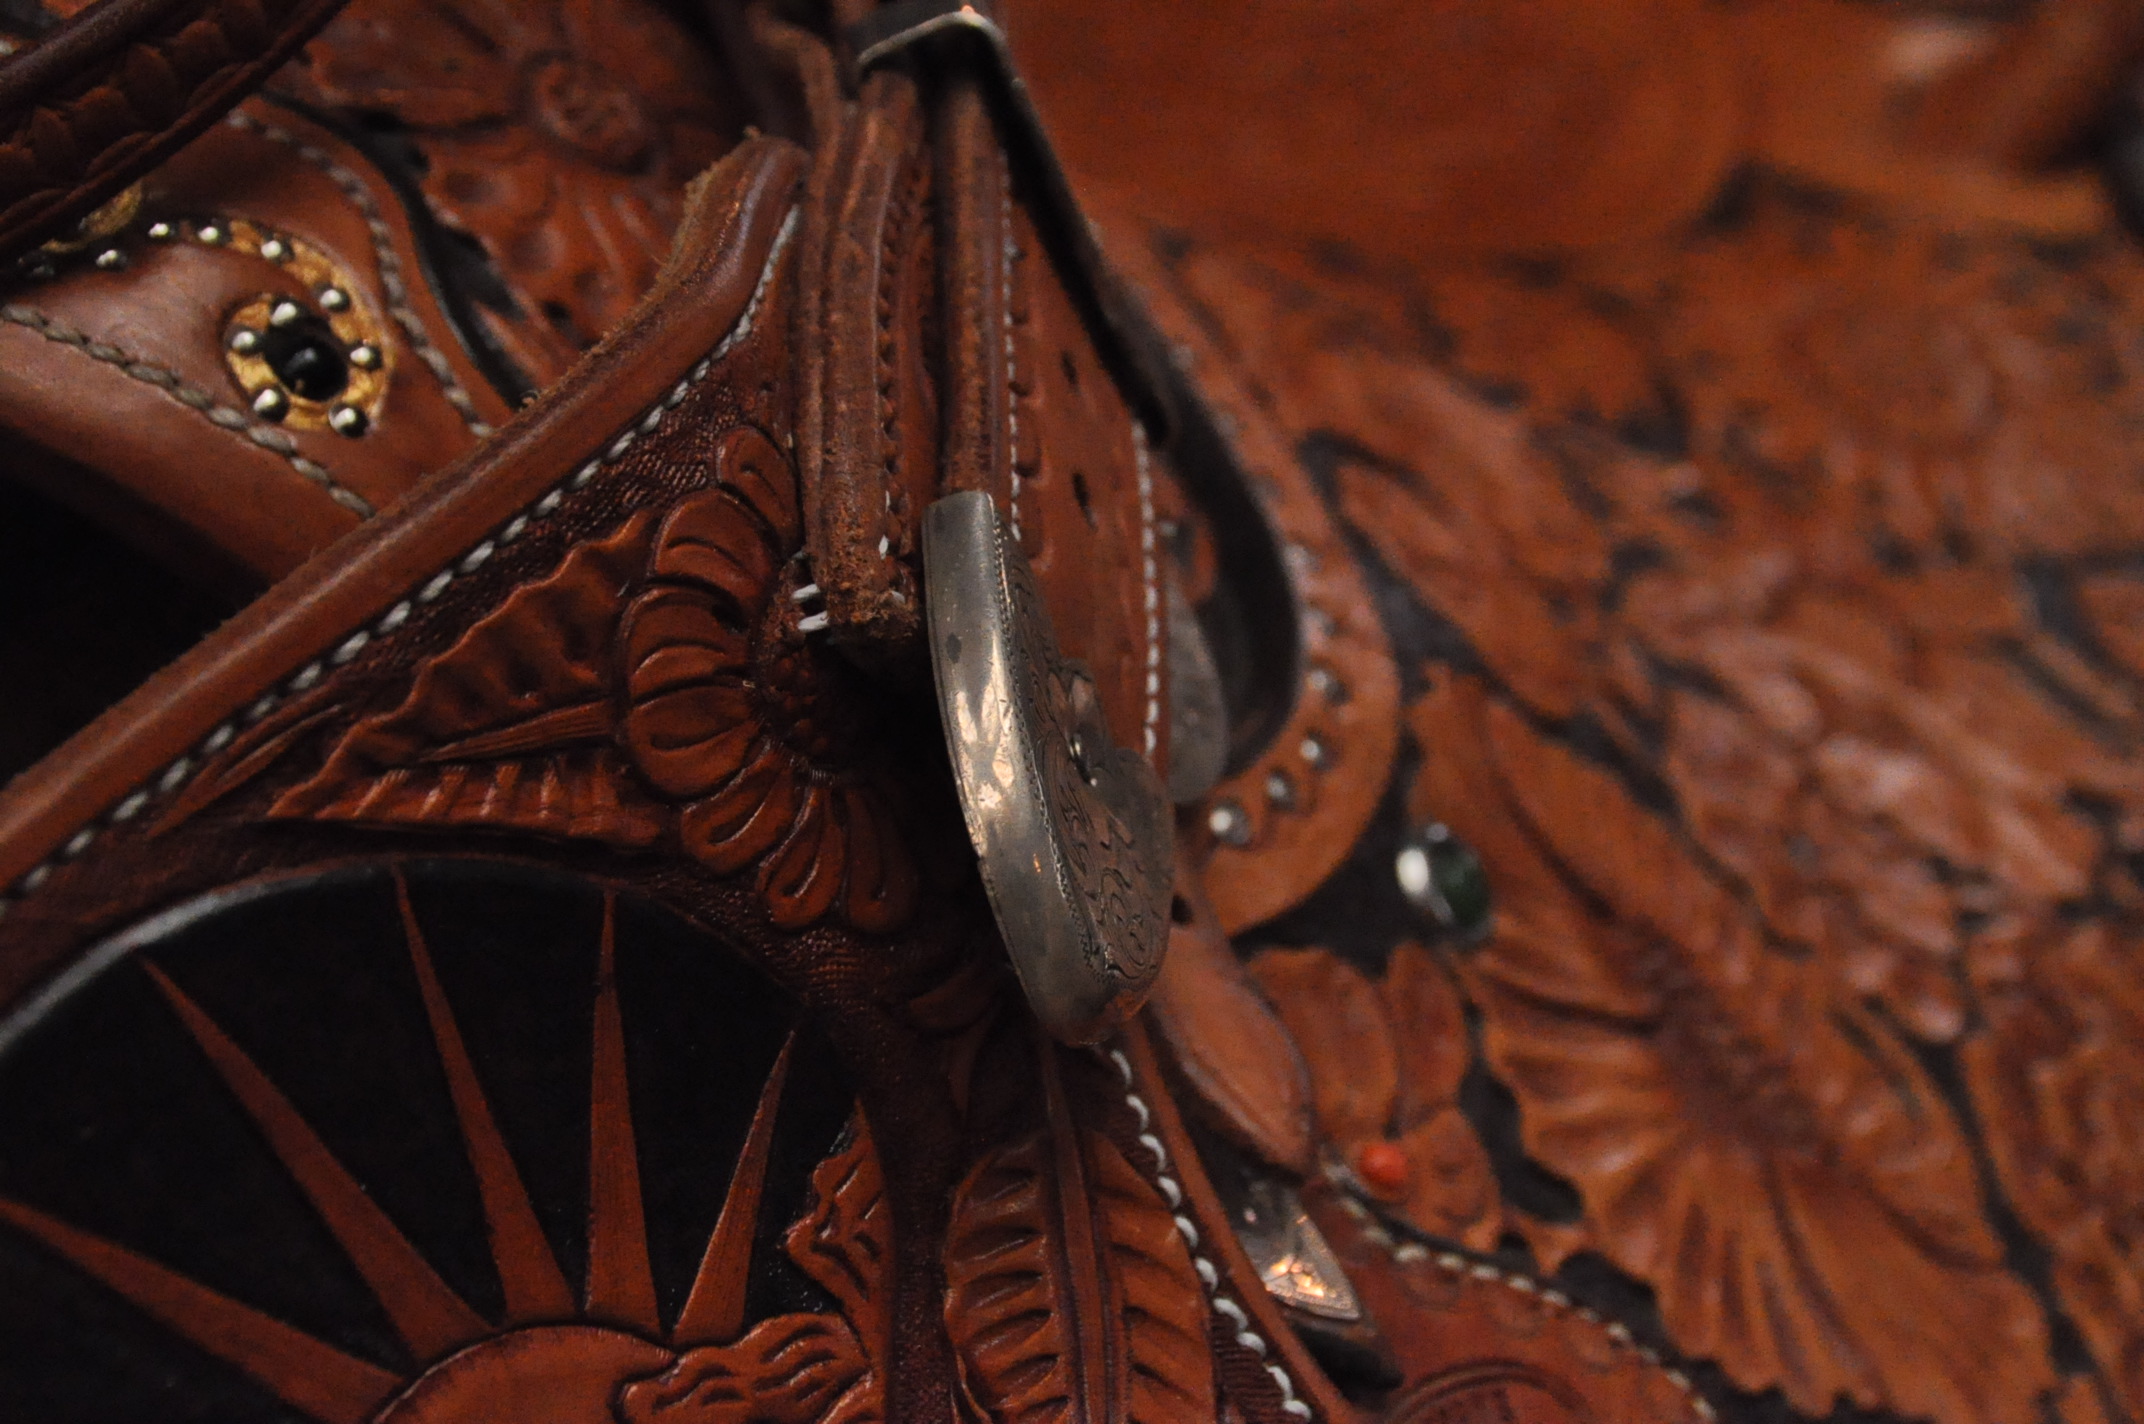
First Lesson:
Indoors-using the same subject shoot on each of your camera’s white balance settings.
My camera was set on F8, ISO 3200
I shot using first using the tungsten light setting, then followed with the fluorescent, sun, flash, cloud, and shade respectively.
")
")
")
")

Second Lesson:
Using the same subject shoot outside on each of your camera’s white balance settings.
My camera setting was F8 and ISO 200.
I shot the same as above except this time my first shot was using the camera’s auto white balance.
")
")
")
")
")
")
")

On the inside shots I didn’t notice as a remarkable difference in the color tempertures as I did on the outside shots. But I can tell there is a difference
Assignment #2 Aperture Settings (aka F-Stop):
Lesson 1:
To quote Grover from Sesame Street, I call this the “Near and Far” Lesson.
Barbara calls this the “Field of Focus”.
Objective: Using 3 different F-stop (aperture settings) shoot an item close up, mid range and a third further away.
I did poorly at this at first (I did not share my 20 photographs where I was trying to get it).
I discovered, because I use auto-focus that I had to switch my center of focus along with my aperture setting to get the desired effect.
Camera settings were (I think) F8, F16 and F32 with ISO 200
")
")
")
Lesson 2:
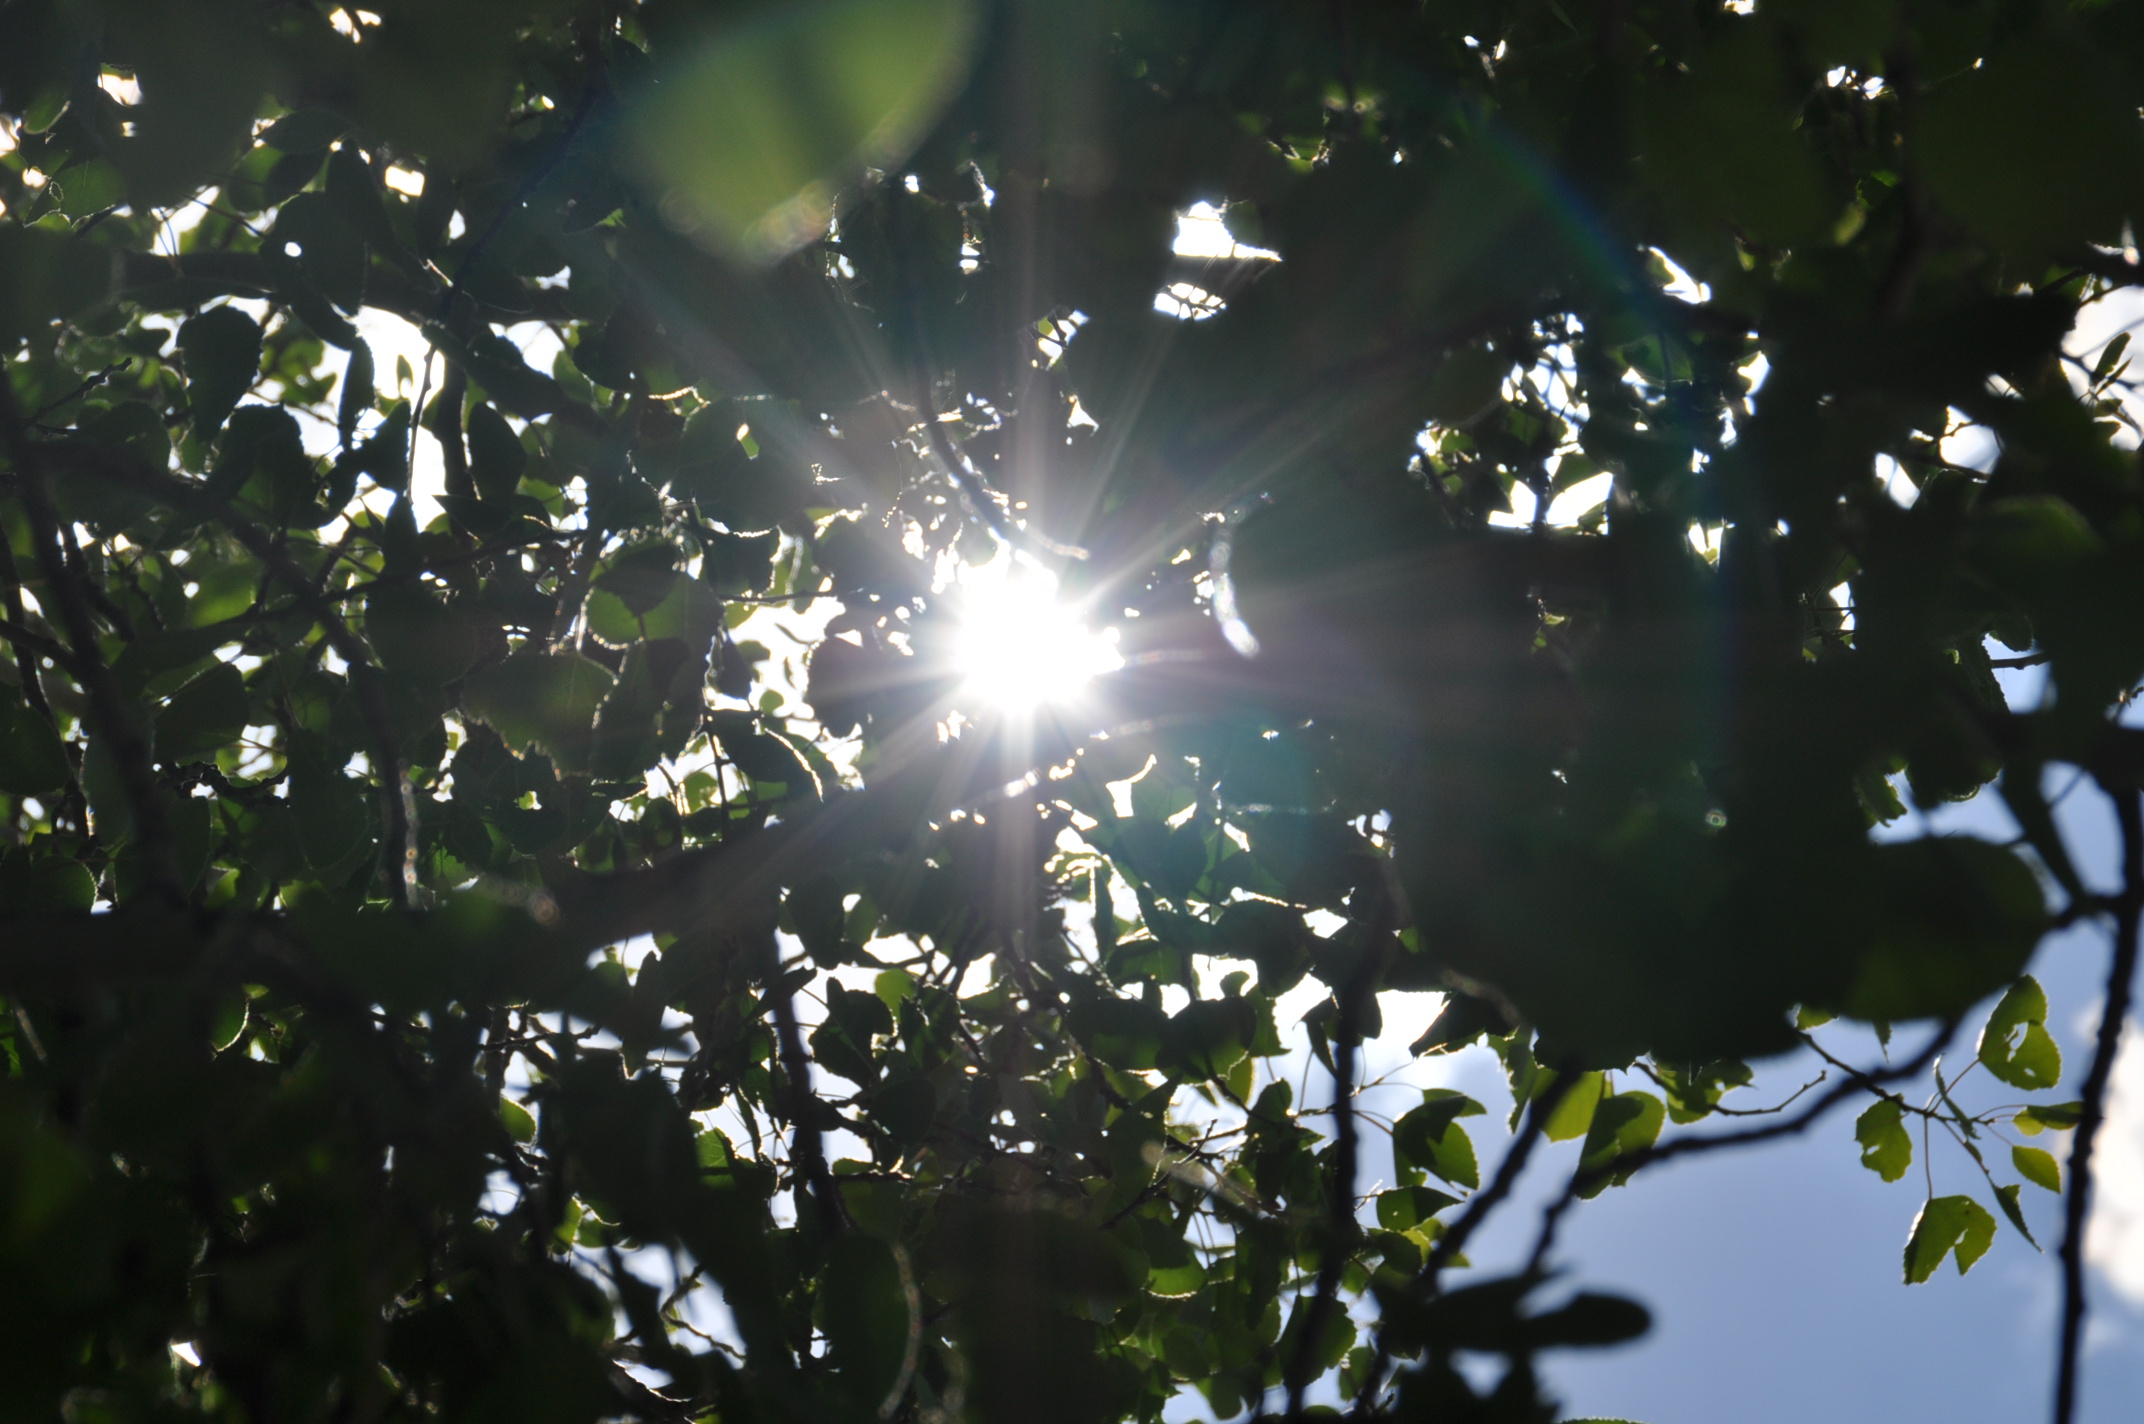
The star affect….
Objective: Shoot into the sun using different aperture settings, starting low and increasing with each shot.
Again, I stayed at ISO 200 and set my camera (I believe) to F4, F8, F16 and finally F32.
I love the results of the final picture….there may be hope for me.
Barbara noted that the leaves were in focus and their color was good and not silhouetted.
“Rhonda, can you tell the class how you did that?”
“Ummm, no clue!”
")
")
")
")
Assignment #3-back lighting
Simple lesson…
Objective: Take a portrait picture of another class mate with the sun behind them. Take a second portrait with the sun behind them using flash fill.
Easy right? Only if you know how to take a picture with flash when the sun is blaring…yeah, auto was not an option.
After 5 minutes of digging through my manual, and another 2 minutes trying to find lightening bolt button I was able to take my second shot.
Here I could see Lulu was shadowed in the first photo, but well illuminated in the second.
Yes, you can take pictures with the sun behind you!
Camera setting F8, ISO 200
")
")
Please note in the second picture Lulu’s frustrated, nay, pissed off face. This is what happens when you bring the Spanish version of your manual!
Assignment 4-Panning
Oh baby was this a tough one!
Objective: Set your shutter speed at 1/8, 1/15 and 1/30
Shutter what? How long it takes your shutter to open and close. That’s it. It’s that magical setting that turns water falls into milk falls.
Panning is when you follow a moving object and when it hits the center of your focus you snap the picture. This will blur the background and allow some details to show.
Seriously, not much moves in a museum….so I waited for cars to go by.
It took me several shots, I pissed off a number of drivers also. People get a little suspicious when you stand around and take photos of them driving by!
A sample of a failed shot and a sample of a somewhat more successful shot.
Honestly I don’t remember what shutter speed I was when I took these.
My camera was set at the now “normal/go-to” setting of F8 and ISO 200.

")
And that was all, for the class room instructions.
Later that evening I experimented on my own.
Here I messed with shooting into the sun, aperature setting and my ISO. I have no clue what settings I used….but the effects are kinda cool. I really like the third one with the tree on the left. The cloud behind the tree is nearly identical to the tree outline giving it a shadow affect.
")
")
")
Lastly I attempted the panning thing again.
I needed a moving object; who better then doggies!
The first shot reminded me of a story by Helen Bannerman called “Little Black Sambo”. The story is about an Indian or Tamil child has to give up his colorful clothes to 4 tigers so they will not eat him. Sambo then takes his clothes back and the tigers chase him around the tree until they turn into a pool of butter. (For more information). In this shot by two dogs look like they are about to turn into butter.
")
")
Lastly, I lurve this shot of Summer dog! She decided to switch up her direction and come see what I was doing. I just love the lighting and the fact that you can still see her tail wagging.
Hang in there, only one more day of class to share.
I can’t help myself, I learned something and couldn’t wait to share, see I’m not too old of a dog!


I love, love, love this show of your assignments. I loved the first test of the white balance with what looks like a saddle but,….may not be. I love the stucco white buildings and the starrrrrrrrrr of the sun. Superb. As soon as my camera comes back from the shop I’ll be learning along with you too. Thanks
Why yes! Lulu was pissed off! No habla espanol! Jr. High spanish with Mr. Payne just was not cutting it to get through the camera manual! And again… Yes! It was so long ago that it was still called junior high as opposed to middle school!